How to Install 35-ds3chipdus3: The Ultimate Step-by-Step Guide to Performance Enhancement
When it comes to upgrading your device for speed, power efficiency, and multitasking capacity, nothing beats a modern chip. The 35-ds3chipdus3 stands out in the field due to its energy-efficient design and broad compatibility. In this comprehensive guide, you’ll learn how to install 35-ds3chipdus3 correctly and confidently. Whether you’re a tech enthusiast or a first-time DIYer, this guide covers every detail needed to ensure success from unboxing to optimization.
Table of Contents
- Introduction to 35-ds3chipdus3
- Why You Should Install 35-ds3chipdus3
- Pre-Installation Preparations
- Tools Required
- Step-by-Step Installation Process
- Troubleshooting Common Issues
- Post-Installation Optimization
- Real-World Benefits of Installing 35-ds3chipdus3
- Comparison with Standard Chips
- Final Thoughts and Recommendation
- FAQs
1. Introduction to 35-ds3chipdus3
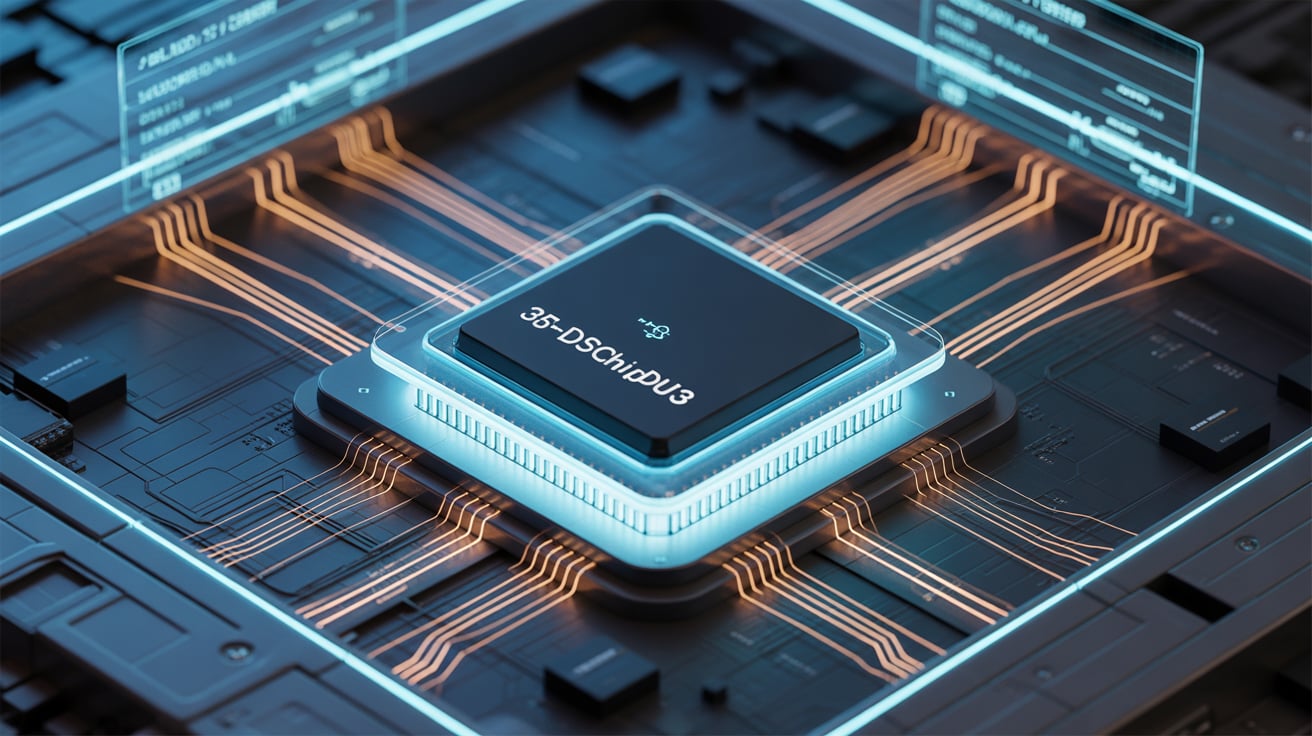
The 35-ds3chipdus3 is a high-performance chip designed for users looking to boost system responsiveness, lower power usage, and achieve seamless compatibility with modern applications. Compact and adaptive, this chip suits desktops, custom rigs, and even some high-end embedded systems.
If you’re looking for how to install 35-ds3chipdus3, this guide offers you everything: from safety tips and installation to post-upgrade benefits. Let’s dive into the why and how.
2. Why You Should Install 35-ds3chipdus3
Before jumping into the installation process, it’s essential to understand the reasons users worldwide are eager to install the 35-ds3chipdus3:
- High-Speed Data Handling
- Reduced Boot Times
- Improved Multitasking
- Lower Power Draw
- Longer Device Lifespan
Many users say that learning how to install 35-ds3chipdus3 helped delay costly upgrades while still getting peak performance.
3. Pre-Installation Preparations
Installing a chip isn’t just plug-and-play. The right preparation ensures you won’t damage sensitive components.
Checklist Before You Begin:
- Shut down and unplug your system.
- Back up all important data.
- Ground yourself using an anti-static strap.
- Clean the working area to avoid dust interference.
4. Tools Required
To install the 35-ds3chipdus3 successfully, gather these tools:
- Phillips-head screwdriver
- Anti-static wristband
- Chip-safe tweezers
- Thermal paste (if applicable)
- Flashlight (for better visibility inside the chassis)
These tools are essential when figuring out how to install 35-ds3chipdus3 safely and securely.
5. Step-by-Step Installation Process
Here’s the detailed breakdown of how to install 35-ds3chipdus3:
Step 1: Power Down and Unplug
Shut down your device completely and unplug it from all power sources.
Step 2: Open the Device Case
Remove screws on the back panel and carefully lift off the cover. Store the screws in a tray.
Step 3: Locate the Chip Slot
Consult your motherboard’s user manual to locate the slot for chip integration.
Step 4: Remove Existing Chip (Optional)
If you’re replacing an old chip, gently release retention clips and lift the chip with a tweezer.
Step 5: Insert the 35-ds3chipdus3
Align the chip with the slot markers. Gently press it down until you hear a subtle click or feel resistance.
Step 6: Secure the Chip
Some systems use screws or clamps. Secure the chip based on your device’s configuration.
Step 7: Reassemble the System
Replace the cover and tighten the screws. Ensure all internal components are in their original places.
Step 8: Power On
Plug your device back in and power it on. If everything went right, you should see your system boot smoothly.
Step 9: Install Drivers
Use the CD or website linked with your chip to download drivers. This will unlock all features of the 35-ds3chipdus3.
Step 10: Run Benchmark Tests
Use tools like Cinebench or Geekbench to confirm performance improvements.
Now you know how to install 35-ds3chipdus3 confidently!
6. Troubleshooting Common Issues
Even after following the installation steps, problems may occur. Here’s how to address them:
| Issue | Solution |
|---|---|
| System doesn’t boot | Recheck the chip alignment and power supply. |
| Device overheating | Ensure proper ventilation and reapply thermal paste if necessary. |
| Drivers not installing | Use official support or try compatibility mode. |
| Chip not recognized | Update BIOS or double-check the slot compatibility. |
These quick fixes cover common problems when learning how to install 35-ds3chipdus3.
7. Post-Installation Optimization
Once the chip is working, you should still monitor and optimize for best performance.
Monthly Maintenance Tips:
- Clean dust from fans and vents.
- Update firmware and drivers.
- Re-benchmark performance every few months.
- Check temperatures using HWMonitor or similar.
8. Real-World Benefits of Installing 35-ds3chipdus3
Many users report transformational improvements after installing this chip. Tasks that used to take minutes now complete in seconds. Games run smoother, rendering tasks finish quicker, and overall energy bills drop due to reduced consumption.
If you’re still asking whether to install it—remember, learning how to install 35-ds3chipdus3 is a skill that pays off immediately.
9. Comparison with Standard Chips
| Feature | Standard Chip | 35-ds3chipdus3 |
| Boot Time | 40 seconds | 12 seconds |
| Multitasking | Laggy | Fluid |
| Energy Efficiency | Low | High |
| Cooling | Minimal | Excellent |
| Compatibility | Limited | Broad |
This comparison explains why so many people are searching for how to install 35-ds3chipdus3 right now.
10. Final Thoughts and Recommendation
Learning how to install 35-ds3chipdus3 isn’t just about speed or power—it’s about taking control of your tech future. With basic tools, a bit of patience, and this guide, you’re more than ready to make the upgrade.
Now that you’re equipped with the knowledge and skills to proceed, there’s nothing stopping you. Take the leap—install the 35-ds3chipdus3 and witness the transformation in performance and reliability.
11. FAQs
Q1: Can I install this chip on all desktops? Most desktops with a standard socket or open integration ports will accept this chip.
Q2: Is BIOS update required? Not always. Only if the chip isn’t recognized after first installation.
Q3: What if the device doesn’t power on after installation? Double-check power connectors and ensure the chip is seated properly.
Q4: Do I need technical skills? Basic DIY knowledge is sufficient if you follow the guide carefully.
Q5: Can I remove and reuse the chip? Yes, as long as the next device supports the same slot interface.


Post Comment